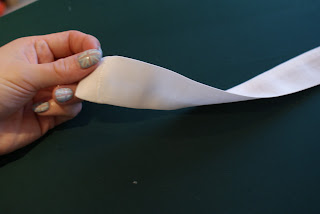
For attaching the hoops I made four 'sleeves' for them - here they are before being turned inside out.

...And after flipping and ironing. NB My jubilee nails!
I threaded the hoops through the sleeves and rejoined the circles with the plastic sleeves that were used with the original underskirt.
I pinned and sewed my hoops in the wrong place and had to reposition them. The lilac shows where I repositioned them to. You should have the skirt wrong way out before positioning and sewing. Where you have the hoops and at what angle will dictate the shape of the dress. I wanted mine reasonably Teardrop A-Line shaped but with the train trailing further out. If you want to be more A-Line without a train position the hoops horizontally. For Princess you position the smaller loop higher up! After positioning its worth flipping the skirt right side out to see where the hoop holds the fabric away from the body.
Next I ironed all the netting which took ages!
And made sure that the gathers were either still in place or regathered and sewn.
There are three layers of netting - one at the top which is only around the back half of the dress.
And two more further down that go all the way around. They are more gathered at the back for volume where you want it.
I ended up repositioning my bottom two netting layers further down and in more of a 'V' so that the bottom layer is almost horizontal and laying on the floor - I'm hoping this will help the train stay out and looking good.
I found sewing the netting onto the skirt was easiest by hand - the stitches aren't exactly tiny and neat but I don't think it'll look any tidier by machine! I'm considering sewing lace edging to the bottom layer of net so that any bits that peek out from underneath the dress will still look nice!


No comments:
Post a Comment